
We make many choices daily, and several reasons drive us to make a particular choice. Do you ever feel that your web hosting provider has interrupted uptime? Or is the loading speed of your website suffering lately? These reasons can have an impact on your website’s Search Engine Optimization (SEO) score as well.
Thankfully, WordPress comes with several tools that will help you fix some of the problems, but when your website starts suffering due to something that’s not under your control, we suggest it’s time to move on and look out for better options.
When your hosting provider is not providing you good service, it’s time to move to another, which means migrating your website. And WordPress comes with several ways for migration. But don’t worry, we’re here to help you.
Today we’ll discuss why and how to do WordPress migrations in this All-in-one WP migration guide.
Why Migrate?
Ever got frustrated with your host provider for frequent downtimes? Or maybe you didn’t use WordPress and plan to leverage this content management system (CMS). Let’s list out a host of different reasons that might compel you to choose from migrating your website:
- Changing CMS or start using a CMS
- Changing your web host
- Create a staging/test website
A. Changing CMS or start using a CMS:
Whether you’re an existing CMS user or didn’t use any CRM before, you might want to try out the powerful WordPress. Migration to WordPress (WP) from an existing CMS like Drupal or Joomla is simple, as WordPress comes with a plethora of plugins and services that will help you in migration.
B. Changing your Web Host:
There are various reasons you’d want to leave your hosting provider – competitive pricing elsewhere, load time, and uptime are also factors to consider. One more important factor forcing developers to look for another web hosting service is the after-sales service you get from your provider. If you’re not satisfied with your providers’ service, or if they take more than 24 hours to reply to your query, we think it’s time for you to look for a better provider.
C. Creating a test environment:
A staging website is a platform for you to try out different things on your website that the current visitors can’t see. You can try out different themes and plugins that you’d want to add to your live website, but without having any repercussions on the live website. Before applying any new updates to your themes or plugins, try it on a testbed and see that your website performs well.
Preparations:
Migrating your WordPress website need not be a daunting task if you follow some best practices as described below. These tips are not only for our All-in-one WP migration guide but are also important to keep the website healthy and prepared for any untoward incidents.
A. Backup your website:
Before making any changes to your existing site, make sure you have one copy of all your WordPress files on a local machine or any cloud drive if you prefer. Not only for migrations, but timely backups will also help you revive quickly in an untoward incident.
To make a backup, follow the simple steps below:
- Download an FTP client like Cyberduck, Filezilla, WinSCP, or any other FTP client of your choice.
- Connect your FTP client with your old website’s server
- Go to the public_html folder and mark all files inside it
- Now click on the download button and keep the files in a secured folder.
B. Backup your WordPress MySQL database :
Along with your WordPress files, make sure to backup your WordPress databases from time to time. And so, before migrations, we’d like to take a fresh backup.
To create a backup of your database, follow the steps given below:
- Go to the phpMyAdmin inside the control panel and select the folder which saves WordPress files.
- Click on Export > Export Method: Quick > Format: SQL and click on ‘Go’. The files will save in your directory.
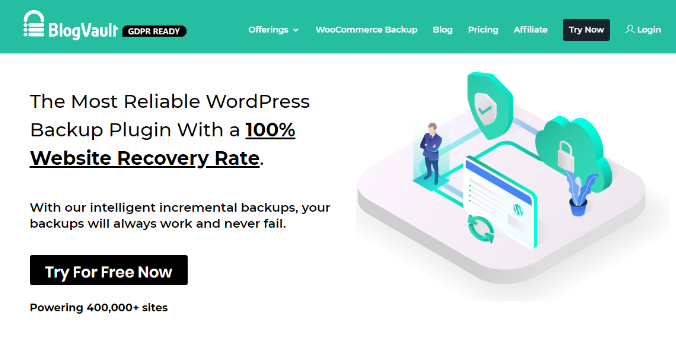
Some plugins that will help you with backups are as follows:
- BlogVault (Recommended)
- Jetpack – WP Security, Backup, Speed, & Growth
- Duplicator
- UpdraftPlus WordPress Backup Plugin
How to migrate?
A.How to migrate from any platform to WordPress?
If you have your old website on other CMS providers like Drupal or Joomla, you’re in for a surprise as WordPress comes with a host of plugins that will help you in migrating.
But before we use any tools or plugins, we need to understand the scope of our migrations:
- How many pages are you migrating? Are you migrating only select pages from your existing website?
- What do you plan with the assets of your previous website like comments, user profiles, user content, your blog content, menu, forms, metadata, or other information
- How big is your migration going to be?
- What about your SEO strategy, and what about URLs? Will you create new URLs, or are you going to redirect to new URLs?
- Do you have some member’s only exclusive content? And how do you plan to bring it on WordPress?
- What about the design? Is your old content compatible with the new design, and what changes you’ll need to make?
Here’s a roadmap for you to follow while migrating from any existing frameworks:
- Setup WordPress
- Select your theme or add a custom WordPress theme
- Select plugins that help you with forms, SEO, menu, social media marketing, and other applications based on your requirements.
- Now, check if there’s a plugin for migrating from your existing framework to WordPress. For example, if you’re coming from Joomla, there’s an ‘FG Joomla to WordPress’ plugin for a smooth import process.
Similarly, there are plugins for other providers as well:
- FG Joomla to WordPress
- FG Drupal to WordPress
- Tumblr Importer
- WP All Import – a plugin for importing XML and CSV files
B. How to migrate from an existing WordPress environment to a new host manually?
Most host providers come with a migration tool that simplifies your job of migration, and you’ll have to follow the steps mentioned in their respective guides. We’ll be discussing some principle steps in this All-in-one WP migration guide. We’ll also talk about migration plugins that could speed up this process.
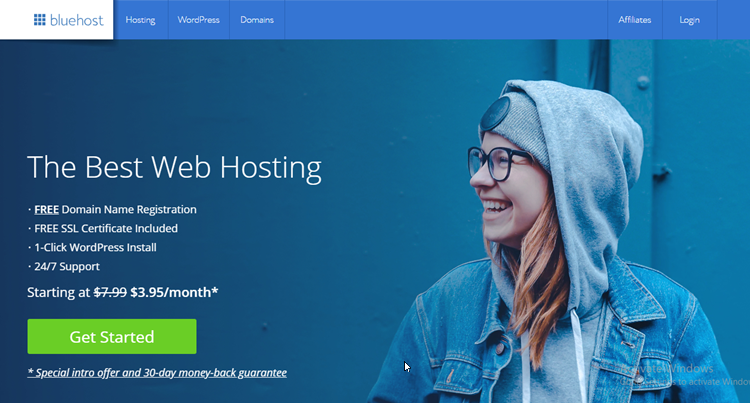
1. Choosing your new web hosting service :
Do your research for a better web hosting provider. There are many providers, and committing to one of them for the long term could be confusing. We’ve curated a list of some reliable web hosting providers in this All-in-one migration guide for your ease. Choose one of them according to your needs and budget:
- Bluehost
- HostGator
- GoDaddy
- Hostinger
[Editor can mention the web hosting provider they’re promoting along with referral links to these websites]
2. Backup:
Follow the backup steps that we discussed earlier and keep the backup file ready.
3.Create a database in your new web host:
We already have a backup of our old website database from our previous host. Now, we need to import these files to our new host. Follow the steps given below:
- Login to the new web host’s control panel
- Select MySQL database and select create a new database
- Give an appropriate name for the database
- Create a user and a secure password for the same database and give all permissions to this profile.
4. Make changes in the wp-config PHP file:
Open the backup folder where you have saved the WordPress files on your computer. Search the wp-config.php file inside the folder and open it with a text editor.
Edit the following content inside this file:
- Replace ‘db_name’ with the name of the database we’ve created in the new web host’s control panel
- Replace ‘db_user’ with the new username that we created
- Finally, replace all the ‘db_pass’ with the password you created for the new user and save the file.
5. Import the wp-config file in the new host:
Launch the phpMyAdmin from the control panel and select your database.
Select the import tab inside the navigation menu > choose file > Select the SQL file that we have backed up. Select SQL in the format type and click on the ‘Go’ button. The database will import shortly.
6. Import the backup WordPress Files into the new host:
Use the same FTP client that we used while backing up our files, and instead of connecting to the old host, you need to connect to the new host.
The default directory to import your files into is the public_html folder. Select the WordPress files and import them into this folder.
7. Change the Domain NameServer (DNS) settings:
Now you need to point your domain name to the new host server. So you need to visit your domain registrar and go to the DNS settings of the domain you wish to change. Your new host will provide you with nameservers that you could point your domain to. Inside the DNS settings page, replace the old host’s nameservers with the new ones.
Note: DNS nameservers changes can take up to 48 hours to reflect
Plugins: You could achieve all these tasks with some great plugins out there. We recommend using the plugins when your website is basic and does not a lot of content for migration. Here we recommend some of the plugins you should give a try:
- Duplicator – WordPress Migration Plugin
- All-in-One WP Migration
C. How to move your website to a new host and a new domain?
Moving your website to a new host is already discussed. If you plan to change your domain name, follow these steps:
- Choose a new web host and domain registrar: Most web host providers’ give a free domain for one year. However, you could choose any domain registrar of your choice.
- Follow the steps in the previous guide and import your WordPress data.
- Changing the domain name will change the URL of your website’s home page, but it will not change the URL of the pages and images on your website. Thankfully, there’s a tool to do it. You can use the ‘Velvet Blues Update URLs’ (https://wordpress.org/plugins/velvet-blues-update-urls/) plugin to change the URLs. It’s simple to use.
a. After installing the plugin, go to Tools > Update URLs
b. Update the old URL and add your new URL in the specified tabs
c. Select the region where you want to update the URLs. Here we select all the options except the last one, which is for development websites only.
4. Update the 301 Redirects: To go easy on your website’s SEO so that your traffic doesn’t suffer after migration, we suggest you add 301 redirects on your old website. To do so, you can use a ‘301 Redirects – Easy Redirect Manager’ (https://wordpress.org/plugins/eps-301-redirects/) plugin that makes your job easy.
D. How to migrate for a clone website?
As discussed before, cloning a website is a best practice. It helps you to test different things on your website without affecting the live performance. A clone website is the best place to try out new themes and create a better user experience. Sometimes updating plugins or themes could cause troubles, and so clone websites come to the rescue.
Check with your web host provider if they’re providing a staging website in their services. If not, here are two ways in which you could develop a staging platform for your site:
- Using plugins:
If you plan to create a simple staging site, there are several plugins that will serve your purpose. Here we have listed a few of them for your references:
- WP STAGING – Backup Duplicator & Migration
- Blogvault
- Duplicator
- All in one WP migration
2. Manual configuration:
Follow the steps below if you wish to replicate your website manually.
- Backup your existing website
- Go to your web host’s control panel and select the subdomain option. Most host providers will provide at least one free subdomain with your hosting service.
- Create a ‘staging’ subdomain. You can choose the name of your choice.
- Create a new FTP account for this subdomain in your web hosting service. Select the directory of your subdomain when creating the FTP account and add the account details.
- Now connect to the subdomain with the FTP client and import the WordPress files into the staging site folder
- FTP is slower and will take some time if your website is heavy
- Export live website’s data from the backup into the staging website by using the WP migrate DB plugin. This plugin will change all the file paths in the database to point to the new staging server. This is an important step for the data to work with the staging site.
- Create a new database in the staging website and import the exported files from the previous step
- Create a username and password for the staging site and give access to the database as well
- Open phpMyAdmin and select the staging website database and import the file that we exported from the previous step.
- The last step in this process is to edit the WP config file to use the staging website database that we just created
- By the time you reach the next step, your staging website should be up and running. The last step is to hide our staging website from others. To do that, go to Settings > Reading and select discourage search engines from indexing this site.
Conclusion: We discussed various methods of WP migrations and various scenarios leading to this event. WP migration is a simple task if you follow some precautionary steps like taking backups of your website before playing with the core.